
How to Configure Your TrainingPro Link in Bio Page
Your TrainingPro public page is a powerful tool for consolidating your online presence. It acts as a central hub where potential and existing clients can find your social media profiles, affiliate links, and other important resources. This guide will walk you through the simple steps to configure your Link in Bio page and Bio page and make a great first impression.
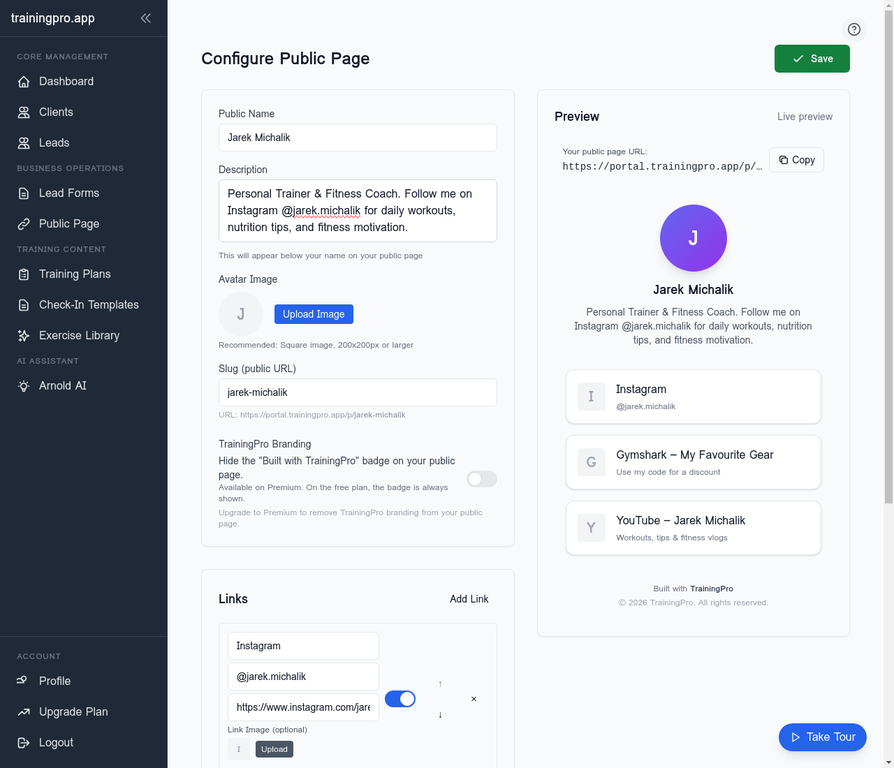
Step 1: Basic Configuration
First, navigate to the Public Page section in your TrainingPro portal. Here, you can set your public name, write a compelling description, and choose a unique slug for your URL.
- Public Name: This is the name that will be displayed at the top of your page.
- Description: A short bio to introduce yourself and your services. You can also include your social media handles here.
- Slug: This will be the unique part of your public page URL (e.g.,
portal.trainingpro.app/p/your-name).
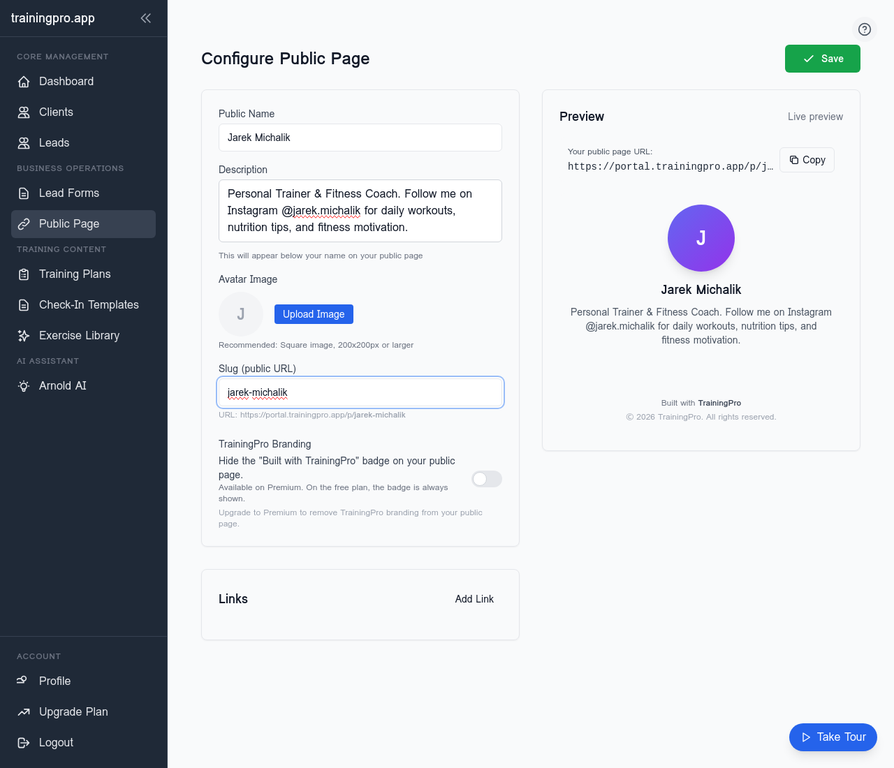
Step 1.5: Uploading Your Avatar
A professional headshot or logo is essential for brand recognition. Click on the Upload Image button under the "Avatar Image" section to select an image from your computer. A square image of at least 200x200px is recommended.
![]()
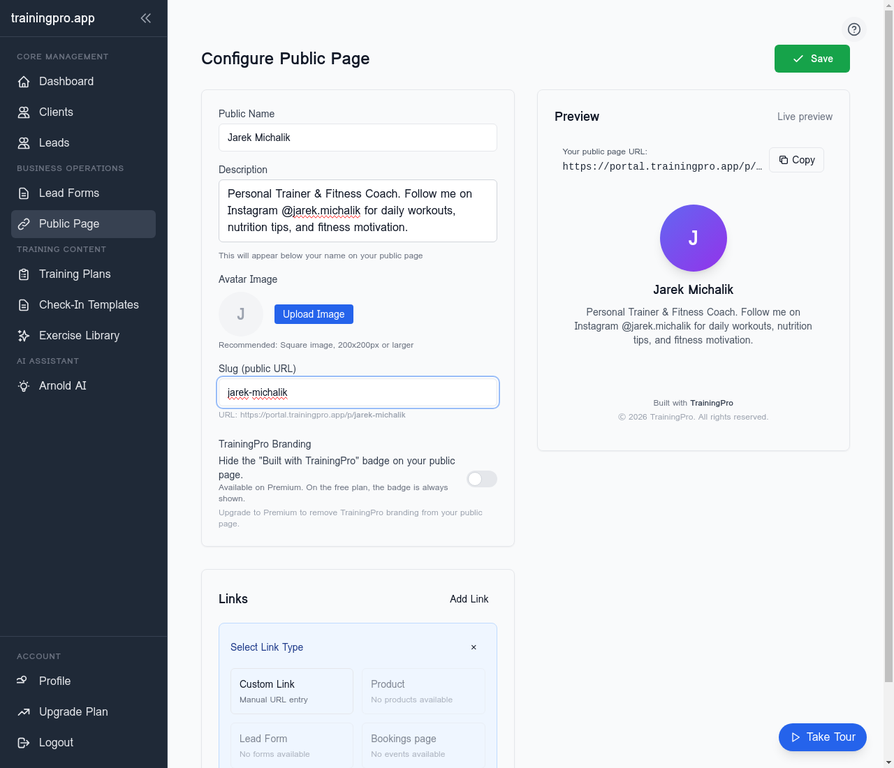
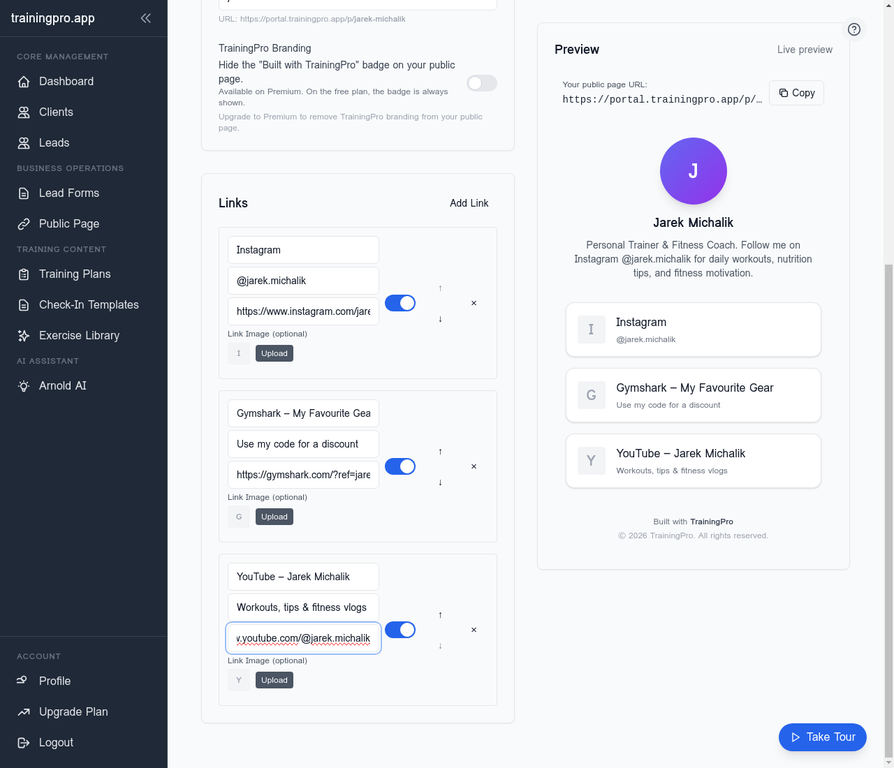
Step 2: Adding Your Links
Once you've filled out your basic information, it's time to add your links. Click the Add Link button to get started. You'll be prompted to select a link type. For external links like social media or affiliate links, choose Custom Link.
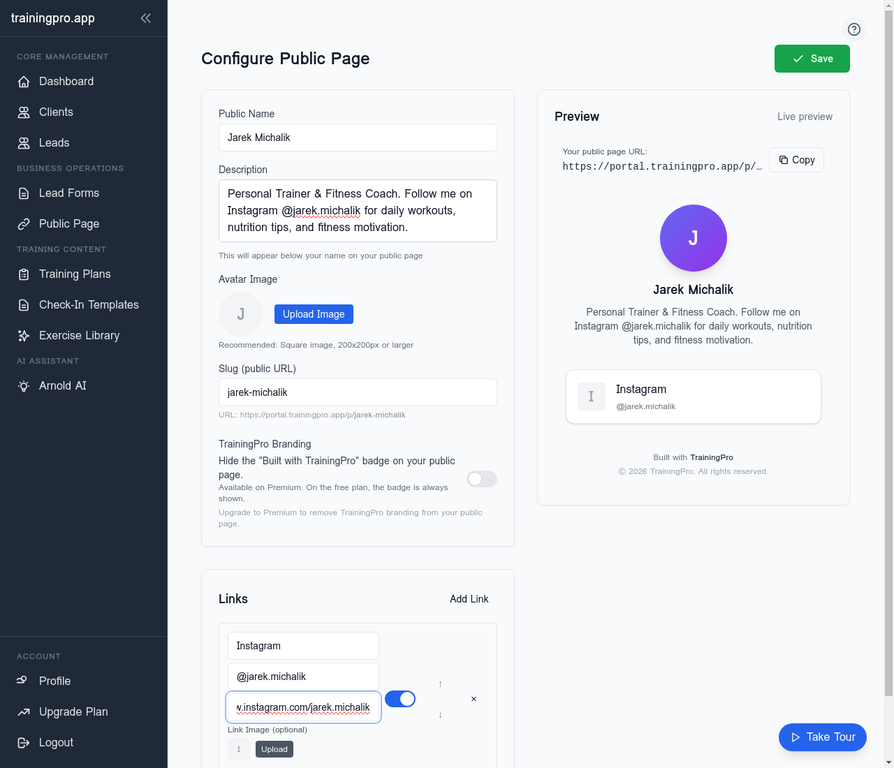
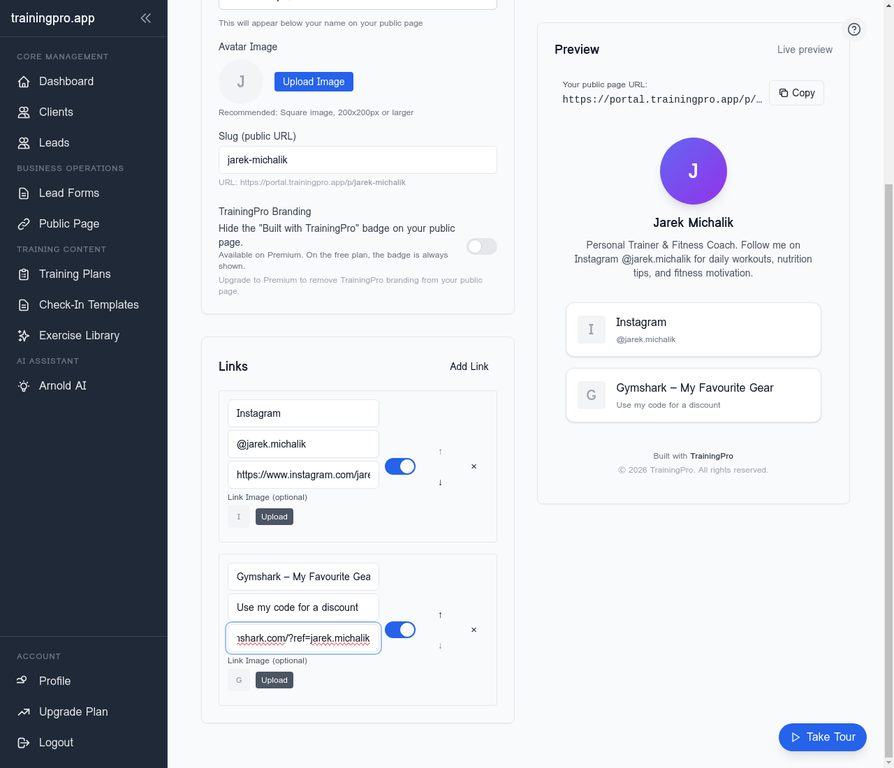
Adding Your Social Media and Affiliate Links
For each link, you'll need to provide a Title, an optional Description, and the URL. Here's how we've configured the three links in our example:
-
Instagram:
- Title: Instagram
- Description: @jarek.michalik
- URL:
https://www.instagram.com/jarek.michalik
-
Gymshark Affiliate Link:
- Title: Gymshark – My Favourite Gear
- Description: Use my code for a discount
- URL:
https://gymshark.com/?ref=jarek.michalik
-
YouTube Channel:
- Title: YouTube – Jarek Michalik
- Description: Workouts, tips & fitness vlogs
- URL:
https://www.youtube.com/@jarek.michalik
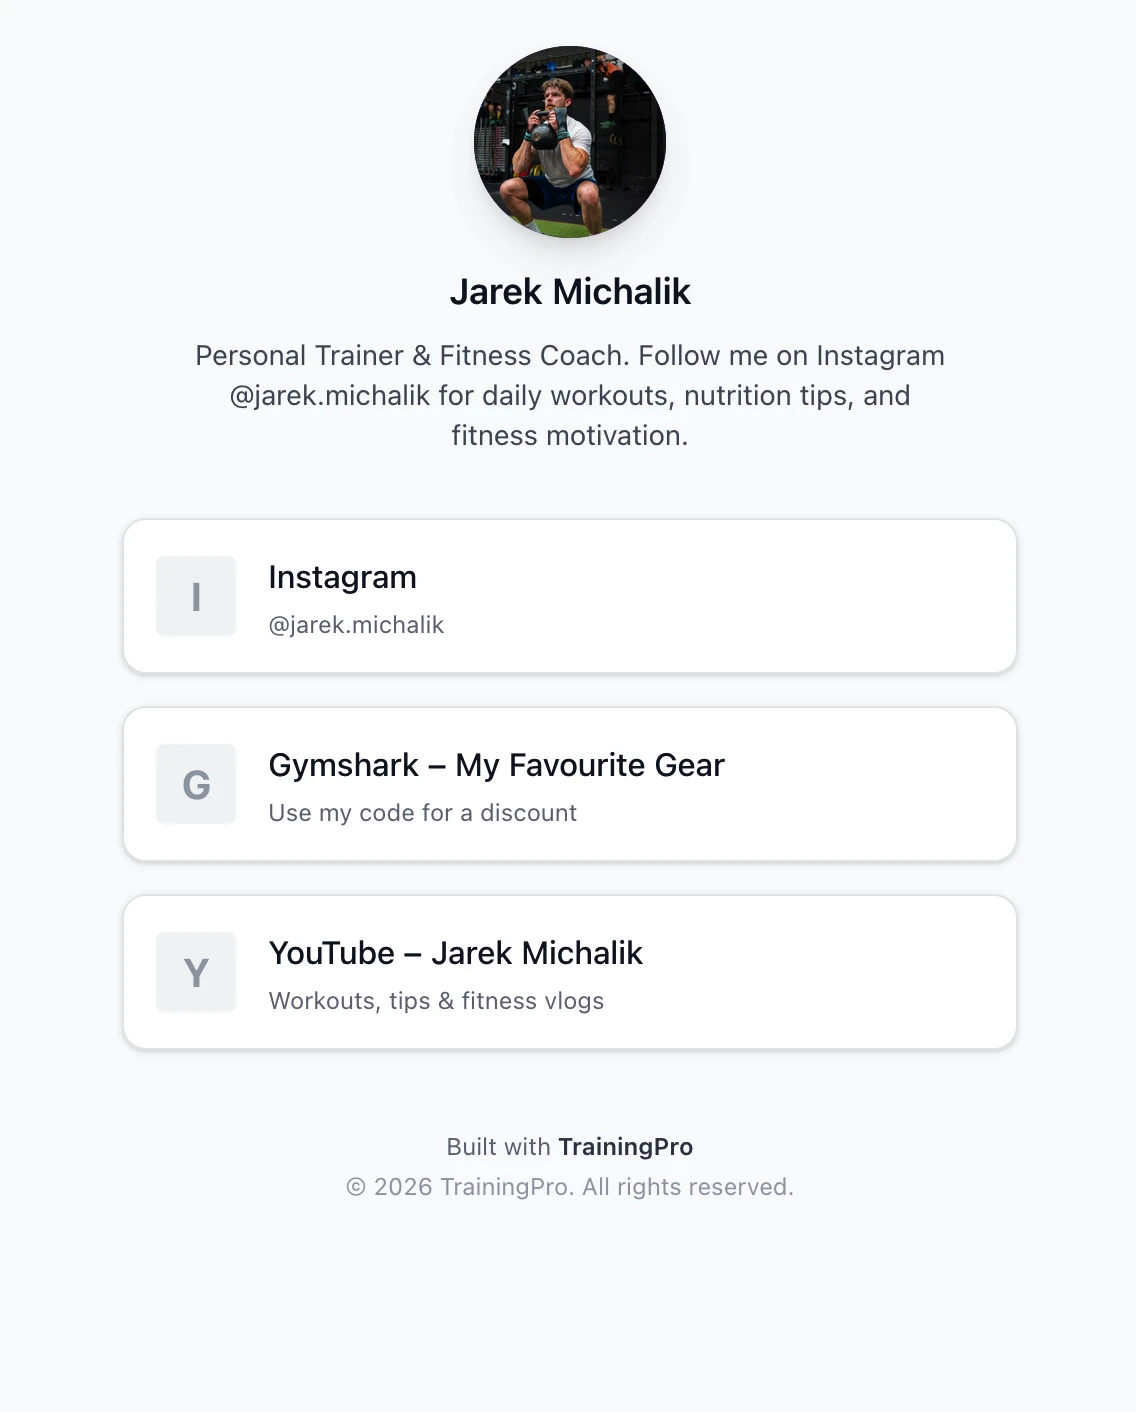
Step 3: Save and View Your Page
After adding all your links, click the Save button to apply your changes. You can then preview your page to see how it looks with all the links you've added.
Finally, you can visit your live public page to see the final result. This is the link you can share in your social media bios and with your clients.
Conclusion
Configuring your TrainingPro Link in Bio page is a quick and effective way to create a professional, centralized hub for your online presence. By following these simple steps, you can provide a seamless experience for your clients and followers, directing them to your most important content and social channels.
Ready to Transform Your Fitness Business?
Join thousands of trainers using TrainingPro to automate admin, grow their client base, and focus on what they love—coaching.
Start your 14-day free trial • Cancel anytime


