
How to Create a High-Converting Lead Form and Connect It to Your Link in Bio
As a personal trainer, your time is best spent coaching clients, not manually managing leads. Yet, many trainers still rely on messy DMs, emails, and spreadsheets to track potential clients. This is not only inefficient but also a huge leak in your sales funnel.
In this tutorial, we'll show you how to use TrainingPro to create a professional, high-converting lead form in minutes. We'll also show you how to connect it to your Link in Bio page to create a seamless lead capture experience for your audience. Finally, we'll walk you through the entire client journey, from filling out the form to appearing in your dashboard as a new lead.
Let's get started!
Step 1: Creating Your First Lead Form
First, log in to your TrainingPro dashboard. If you don't have an account yet, you can create one for free.
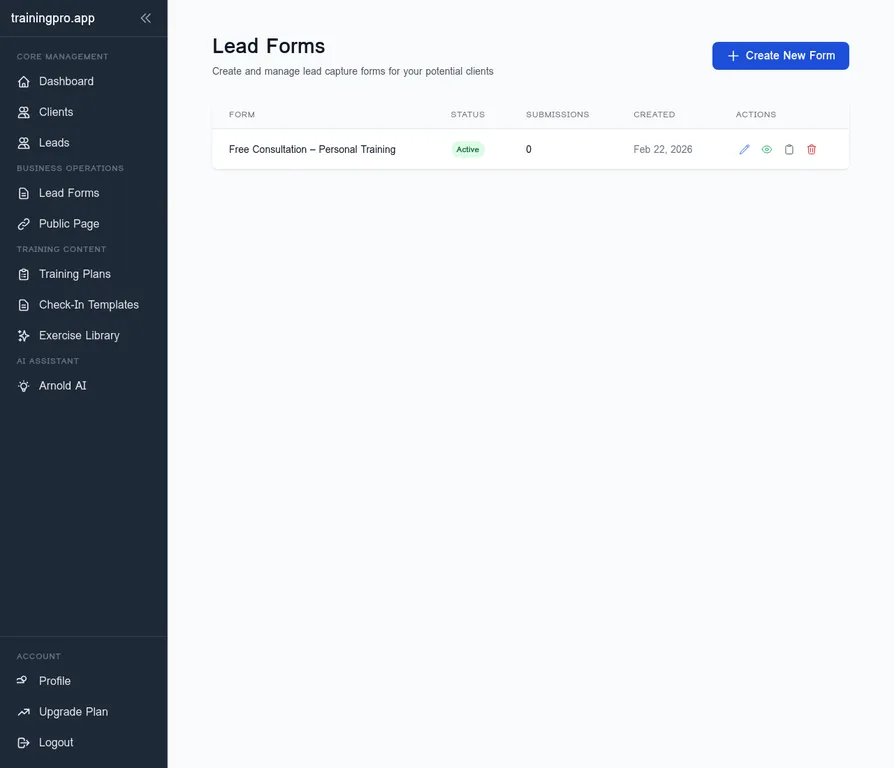
From the main dashboard, navigate to the Lead Forms section in the left-hand menu under Business Operations.

Click on the Create New Form button to start the process. You'll be presented with two options: Create from Scratch or Create from Template. For this demo, we'll choose Create from Scratch to have full control over the form fields.
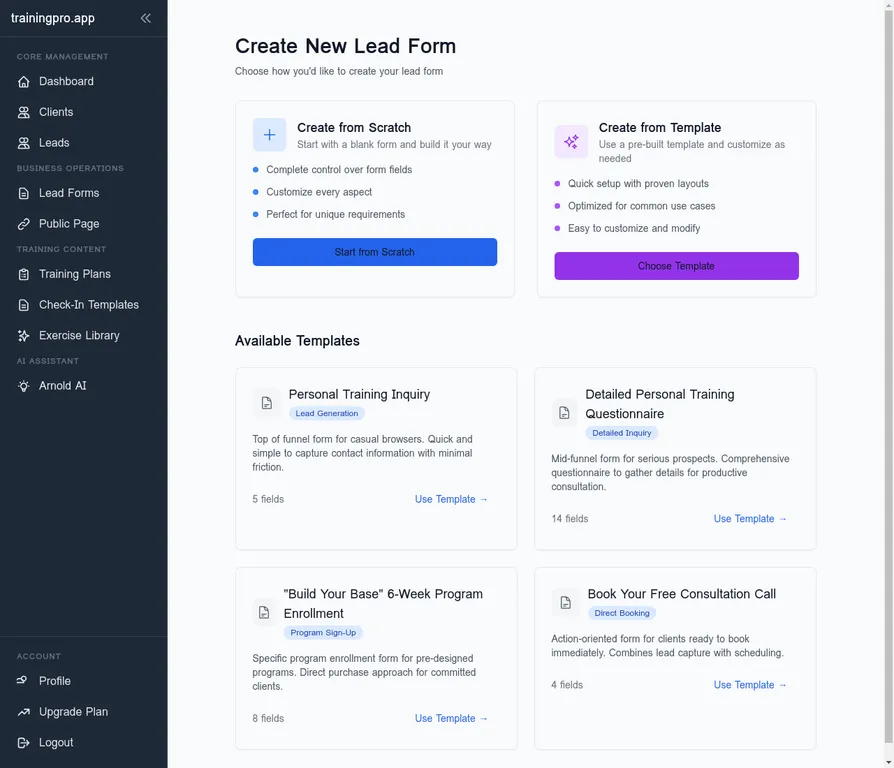
This will take you to the form builder. Here, you can customize every aspect of your lead form.
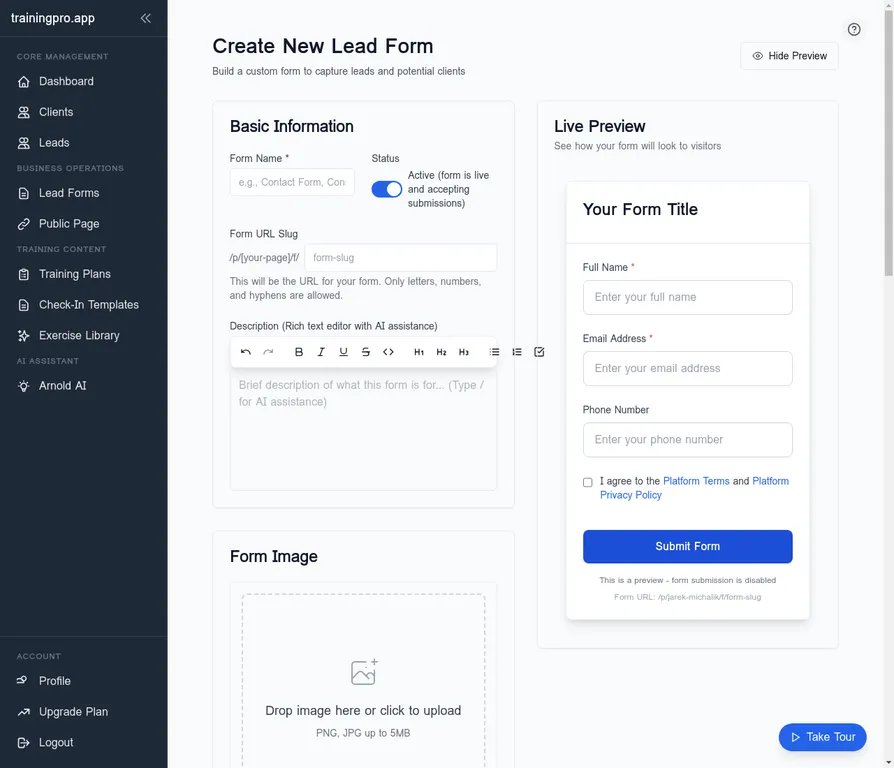
Step 2: Customizing Your Lead Form
Now, let's customize the form. We'll start by giving it a descriptive name, like "Free Consultation – Personal Training". We'll also add a compelling description to encourage visitors to fill out the form.
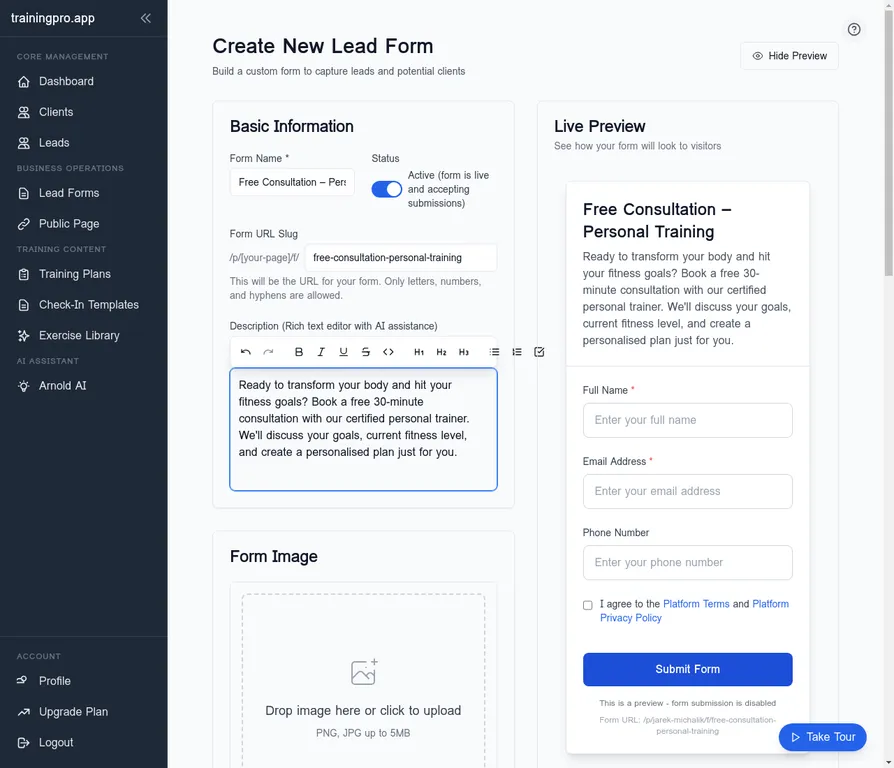
Next, let's add a professional touch with a high-quality image. We've generated a gym-themed hero image for this purpose. You can upload your own image by clicking on the Form Image section.
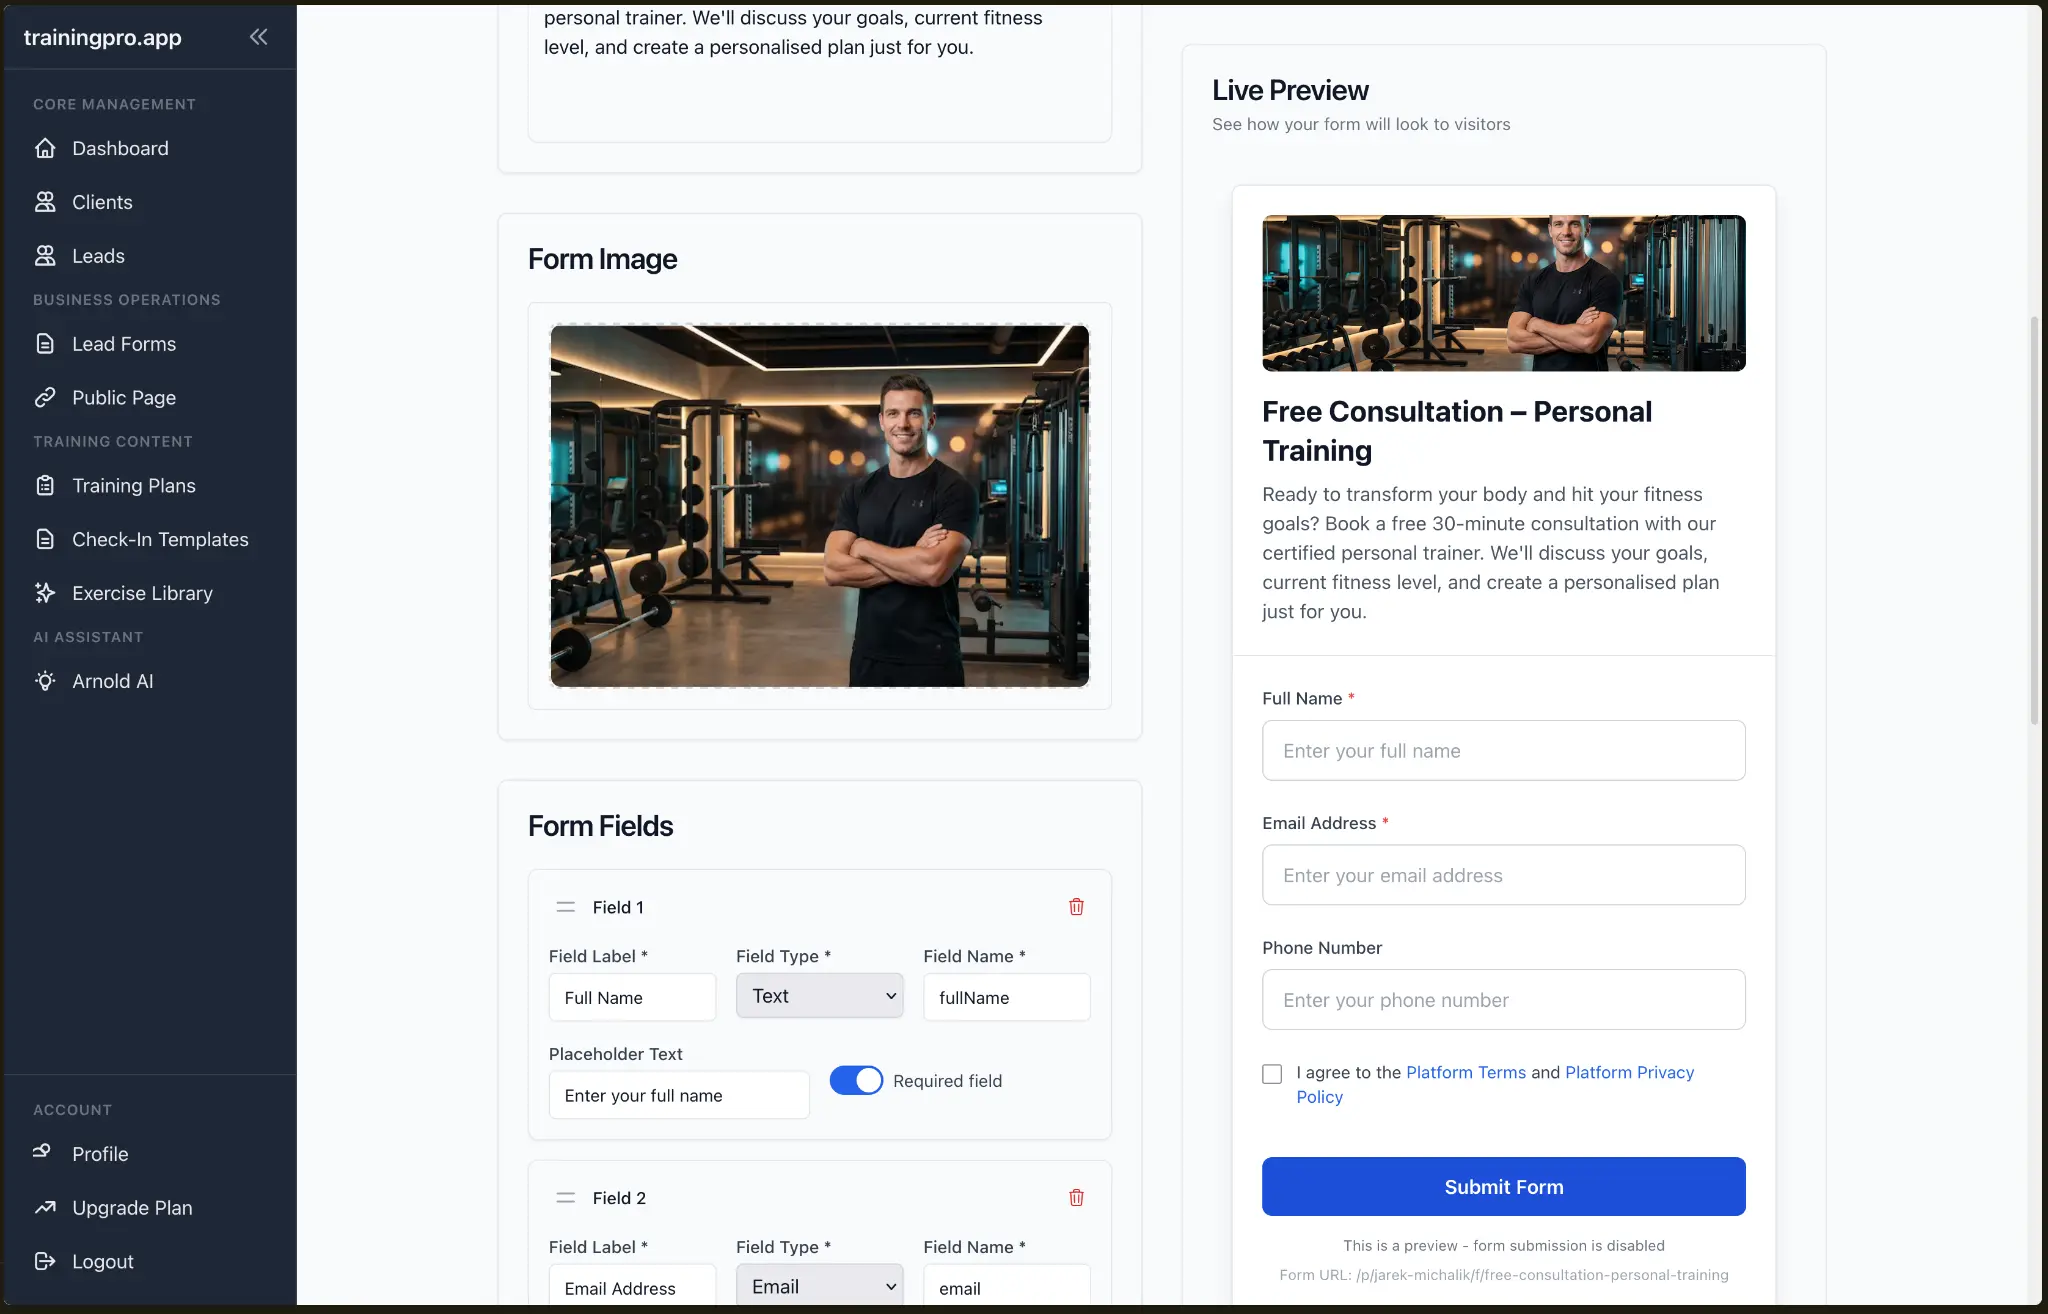
Now, let's configure the form fields. We'll keep it simple and ask for the essentials: Full Name, Email Address, and Phone Number. You can add more fields if you need to, but remember that a shorter form usually leads to higher conversion rates.
Finally, let's review the success settings. You can customize the success message that appears after a user submits the form, or you can redirect them to a different URL. For this demo, we'll stick with the default success message.
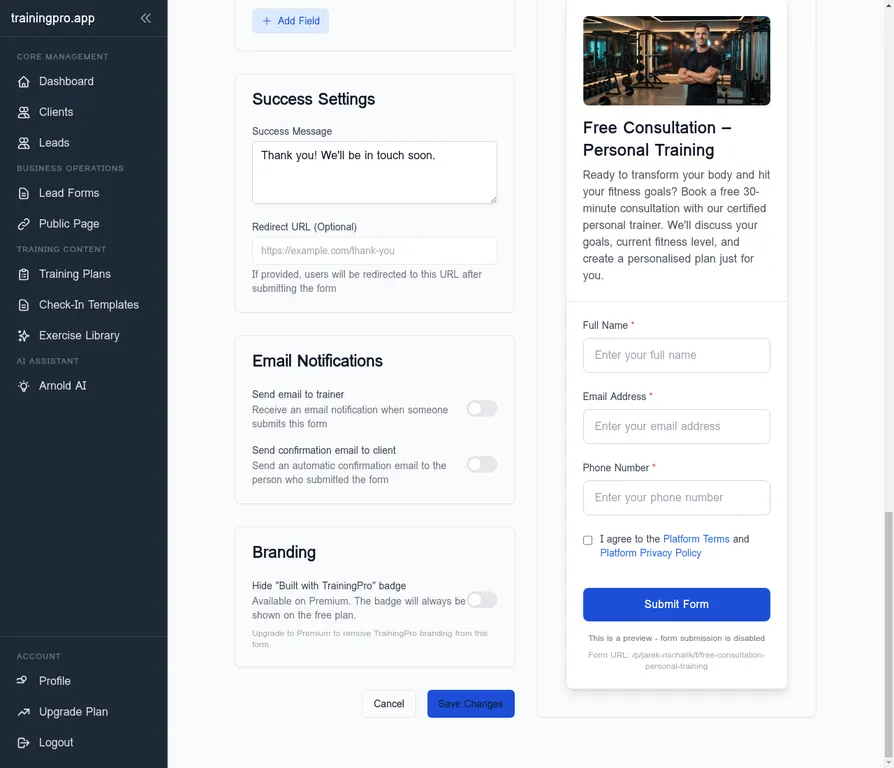
Once you're happy with your form, click Create Form to save it.
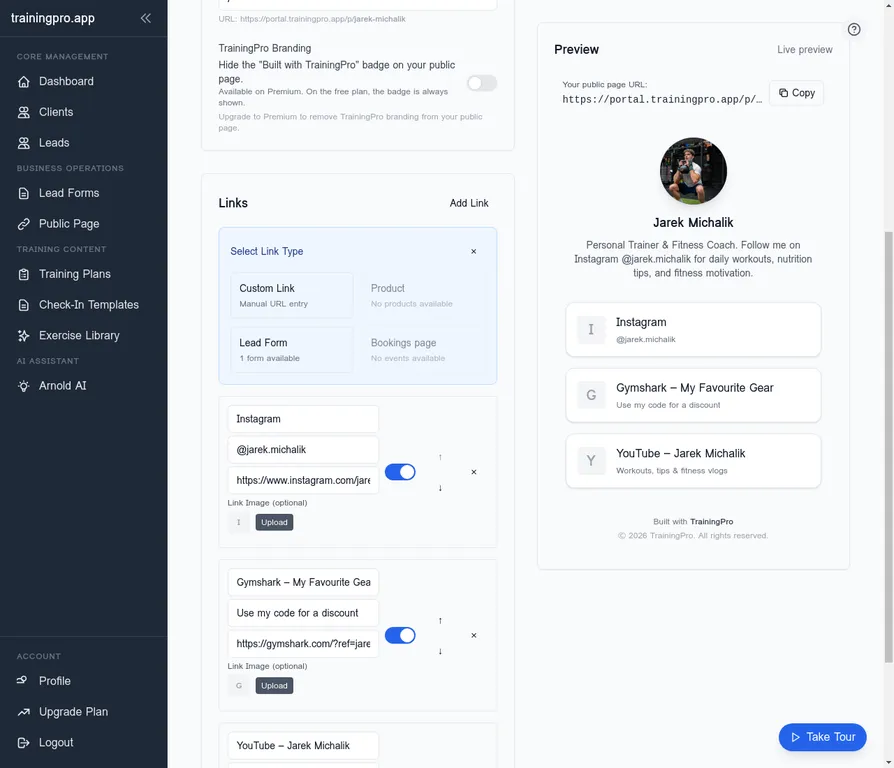
Step 3: Connecting Your Lead Form to Your Link in Bio
Now that your lead form is ready, it's time to connect it to your Public Page (your Link in Bio). Navigate to the Public Page section in the left-hand menu.
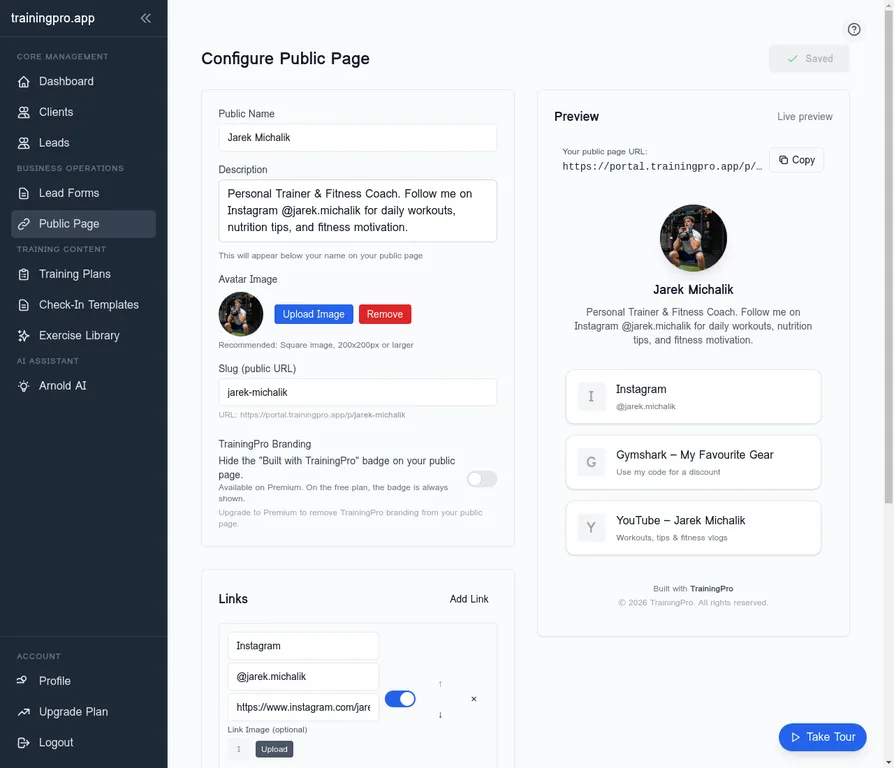
Click on the Add Link button. You'll see a dialog where you can choose the type of link you want to add. Select Lead Form.
Next, you'll see a list of your available lead forms. Select the "Free Consultation – Personal Training" form we just created.
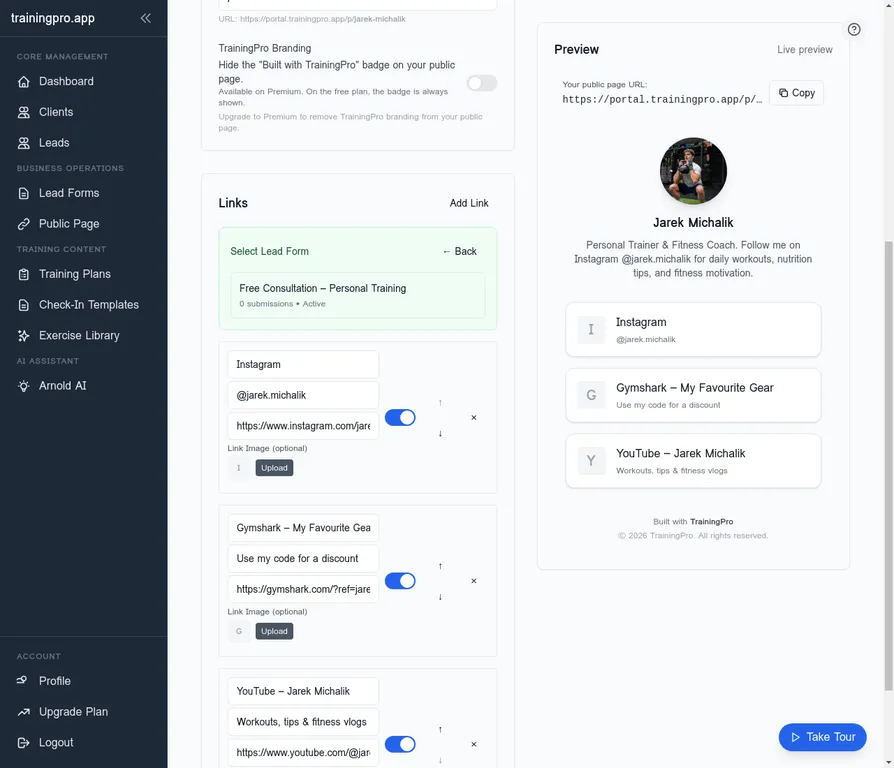
The lead form will be added to your Link in Bio preview. You can see how it will look to your visitors on the right side of the screen.

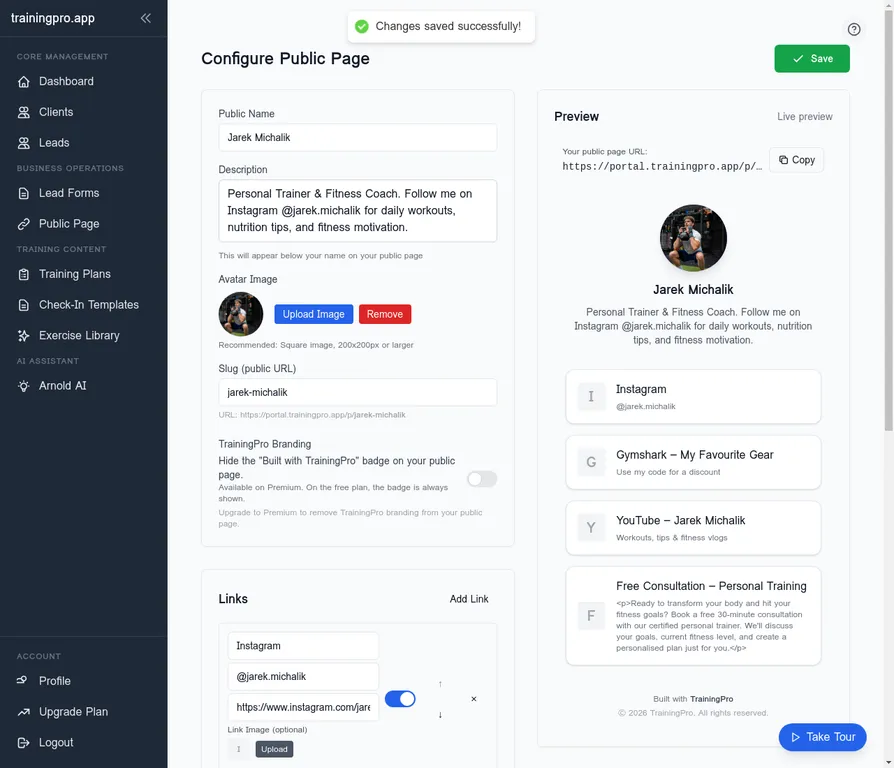
Click Save to update your Public Page.
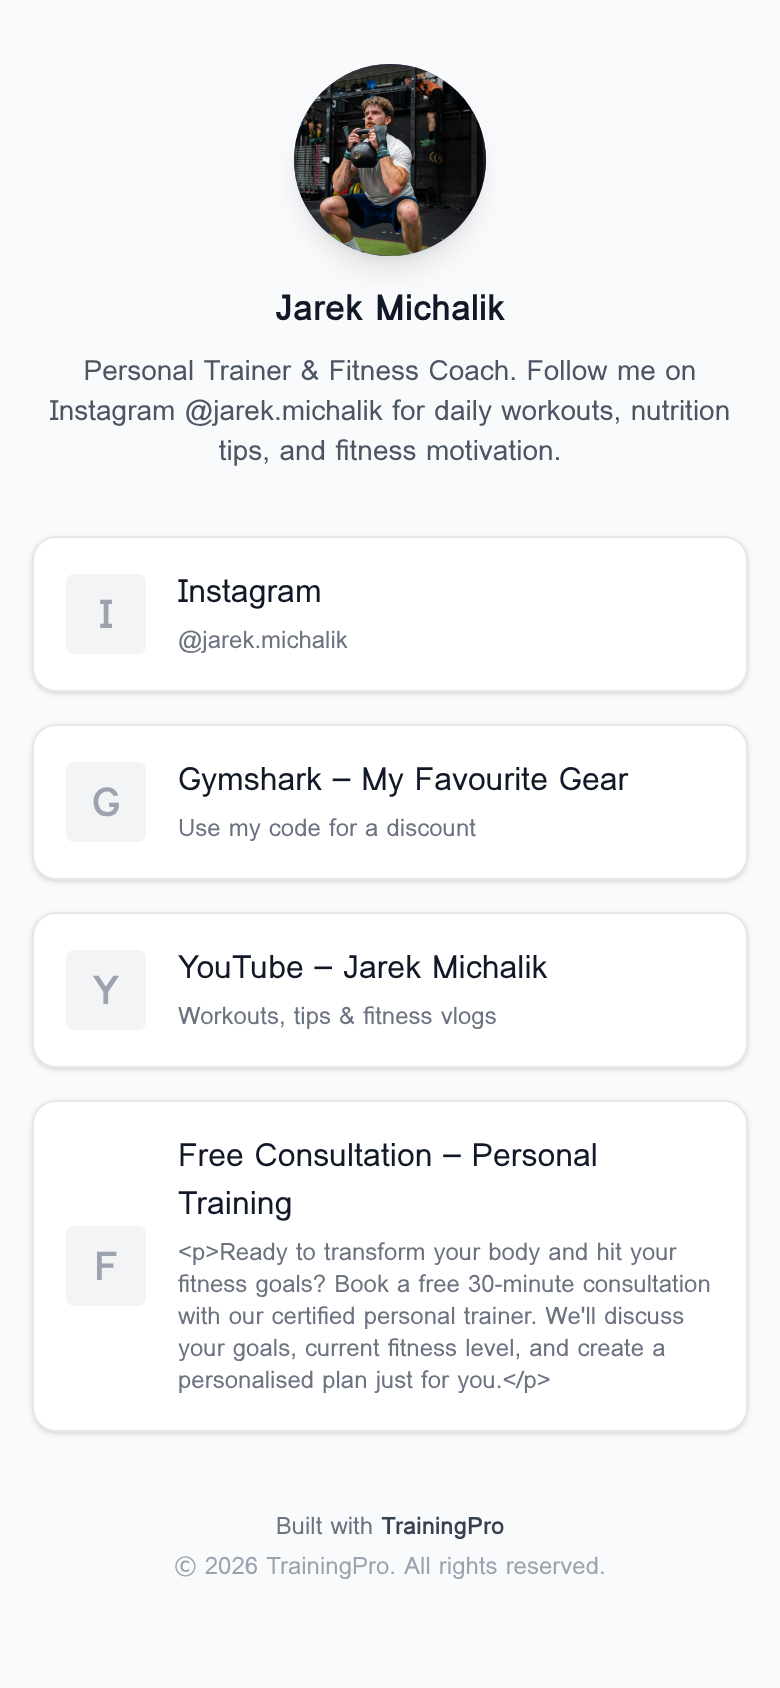
Step 4: The Client's Journey - Mobile View
Now, let's see what the experience is like for a potential client. We'll view the Public Page and the Lead Form in a mobile view, as most of your audience will likely be on their phones.
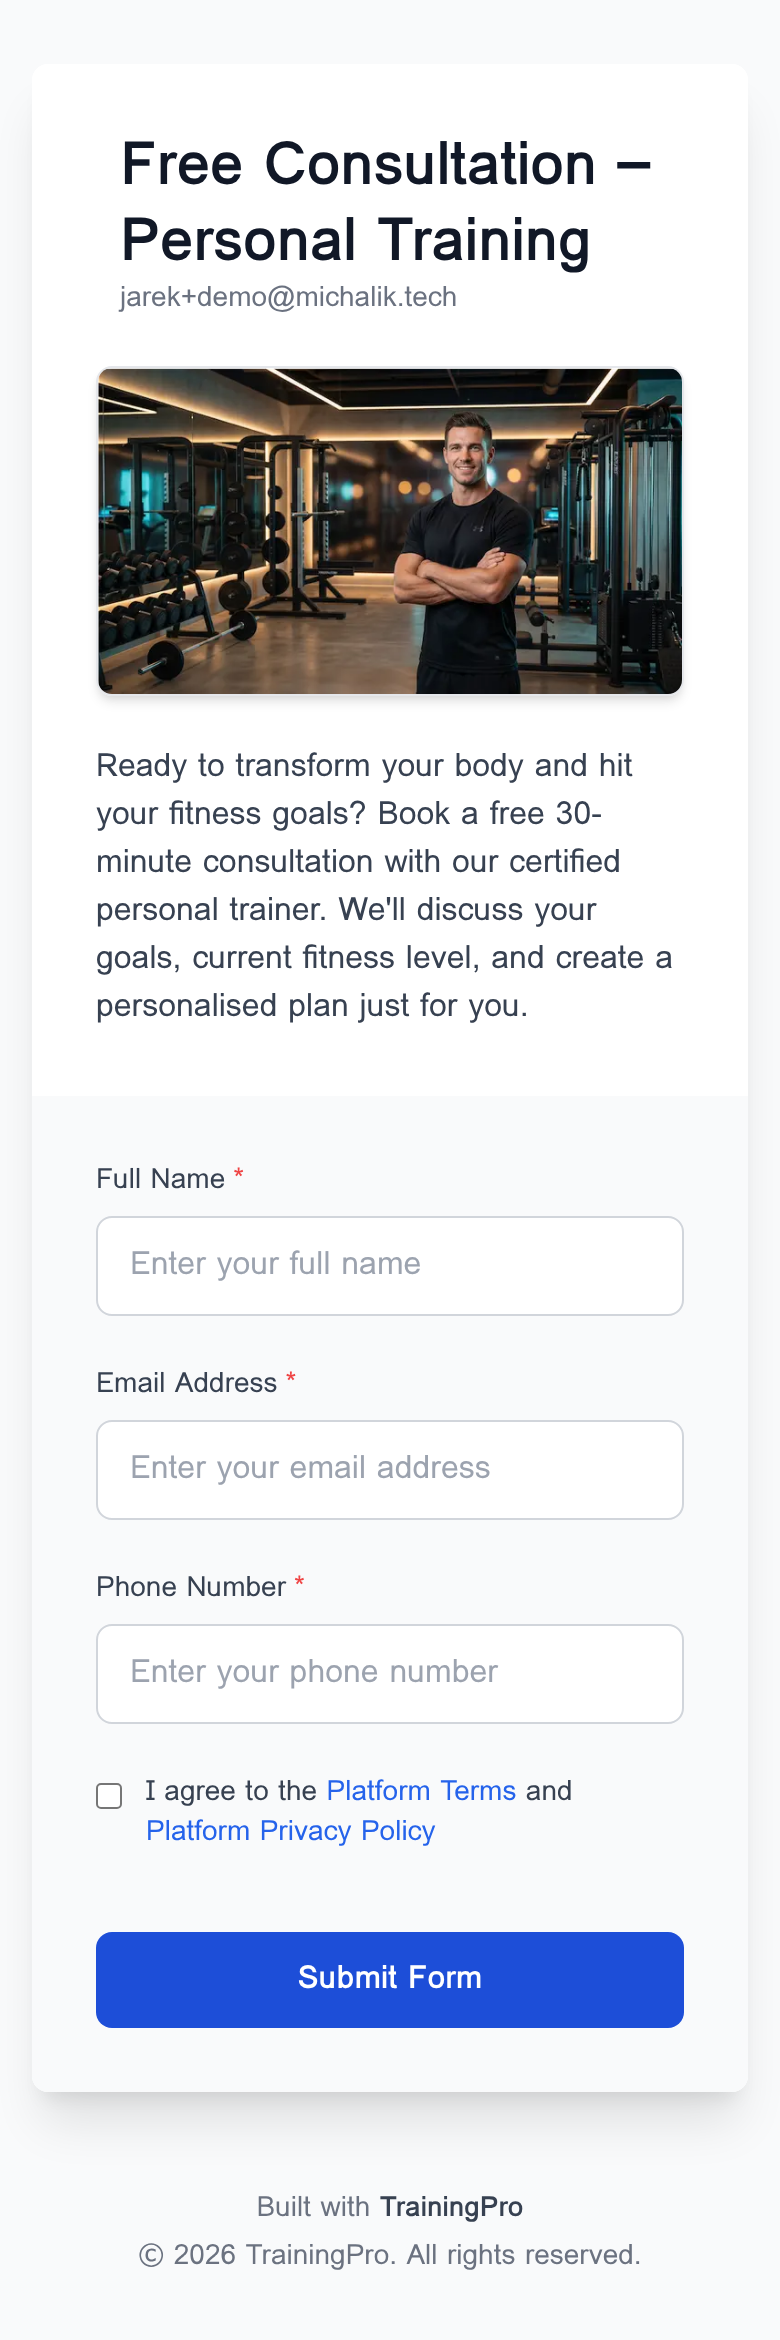
Here's how your Link in Bio page will look on a mobile device:
When a visitor clicks on the "Free Consultation – Personal Training" link, they'll be taken to the lead form we created:
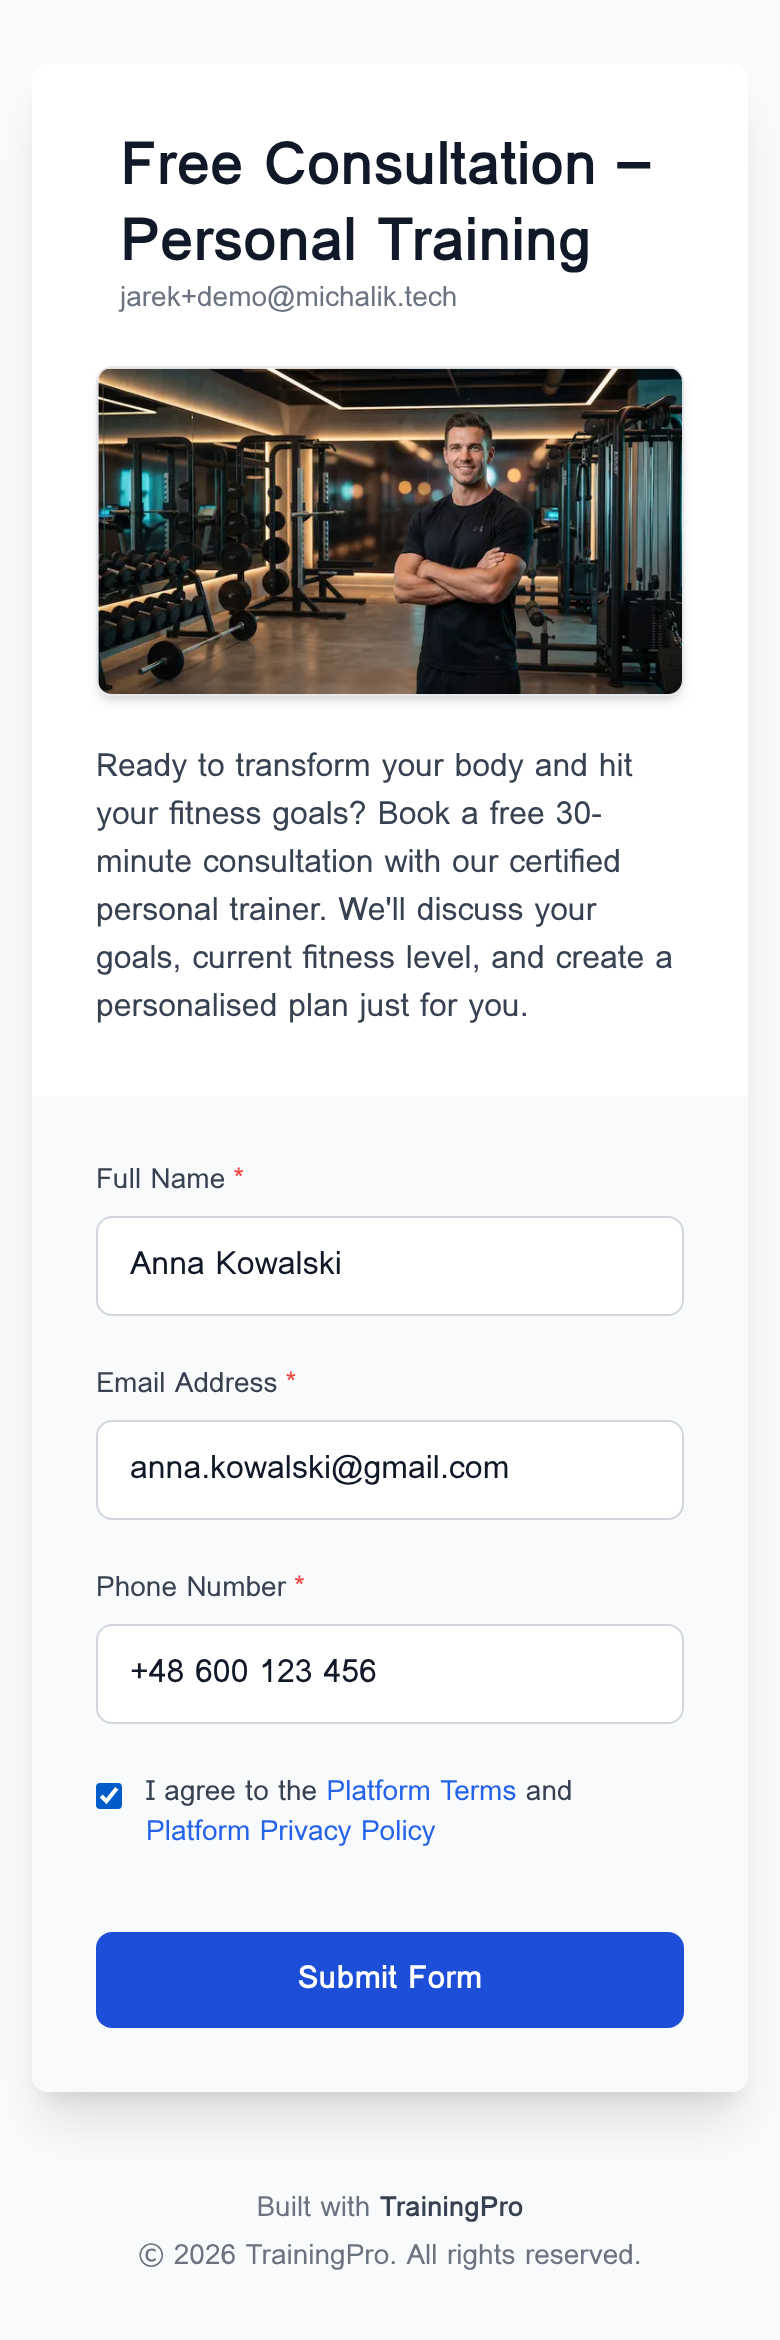
We'll fill out the form with some sample data:
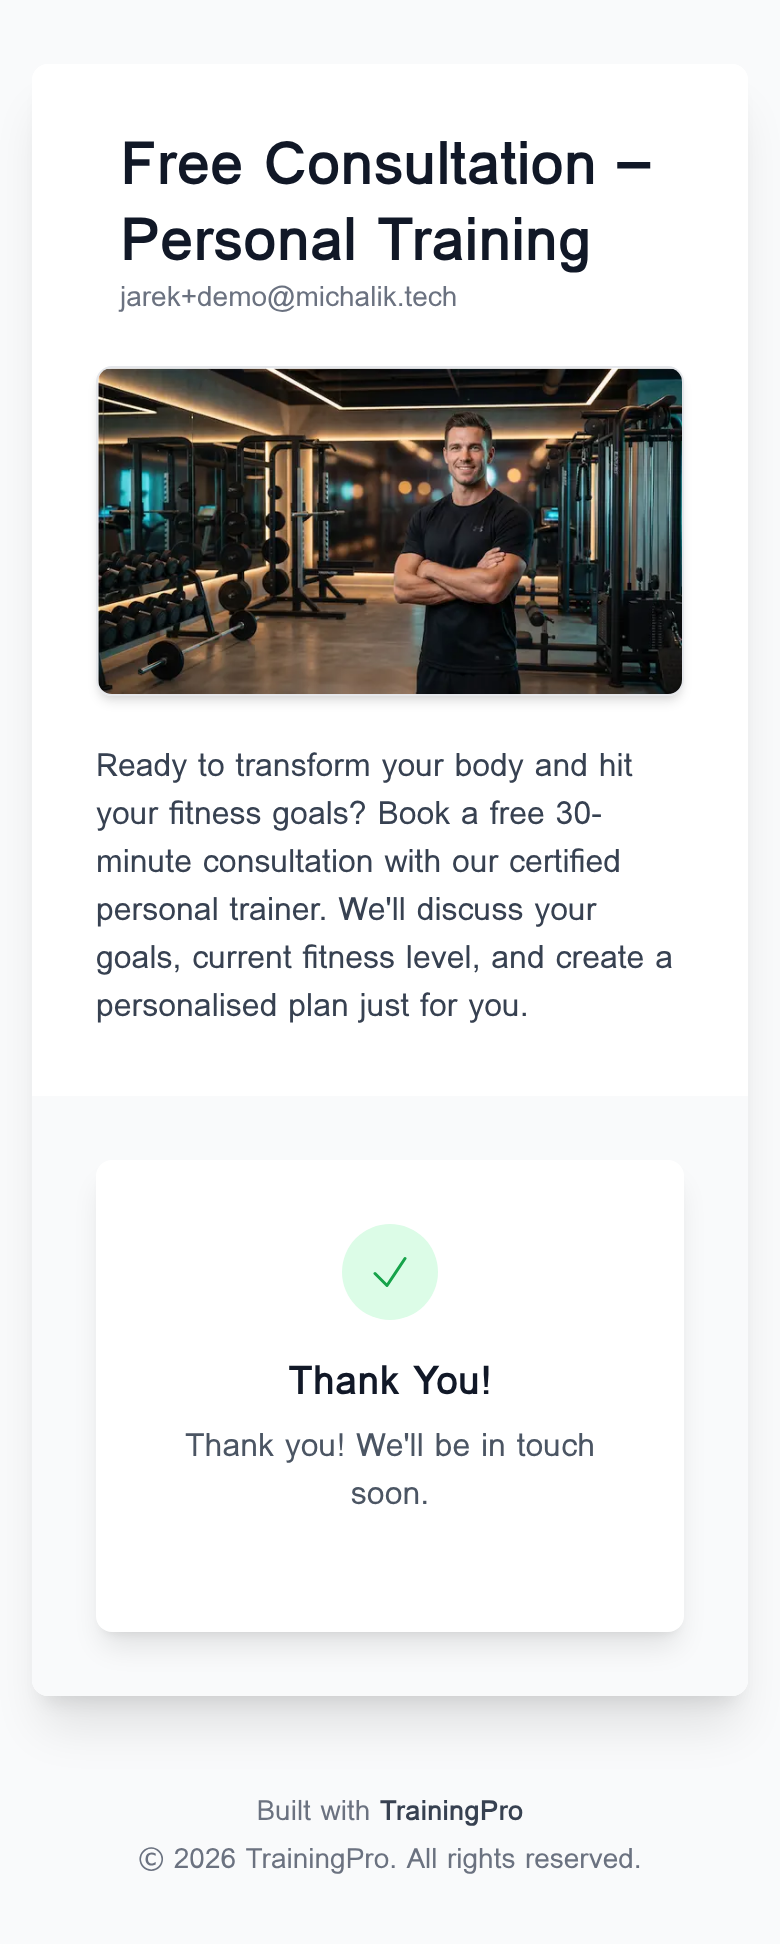
And finally, we'll submit the form. The user will see the success message we configured earlier.
Step 5: See Your New Lead in TrainingPro
Now for the best part! Let's head back to your TrainingPro dashboard to see the new lead that was just captured.
You'll see a new notification in your Recent Activity feed on the main dashboard.
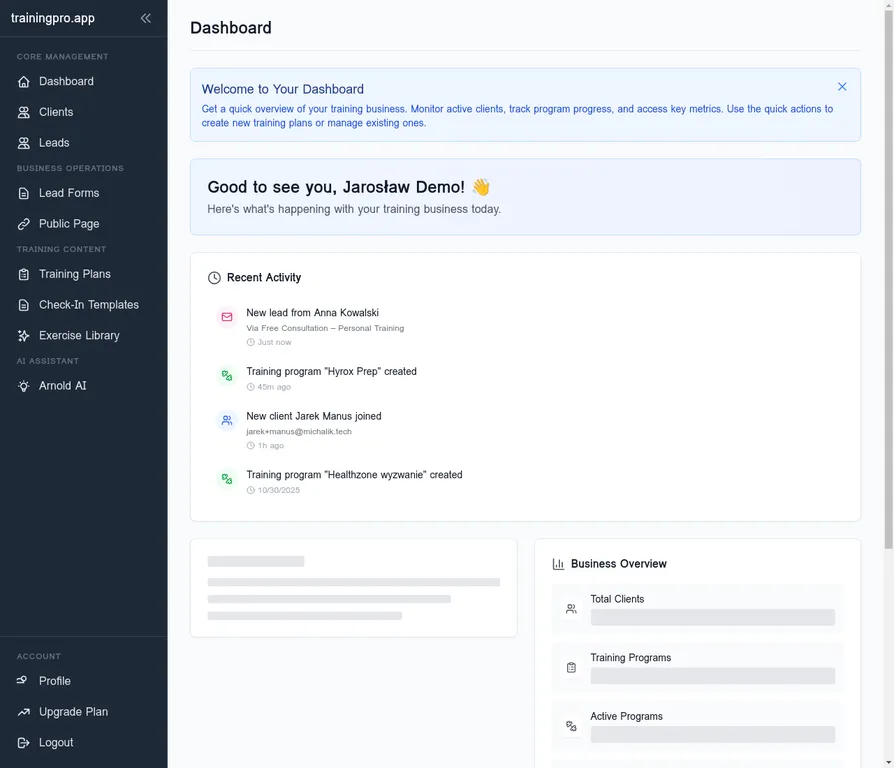
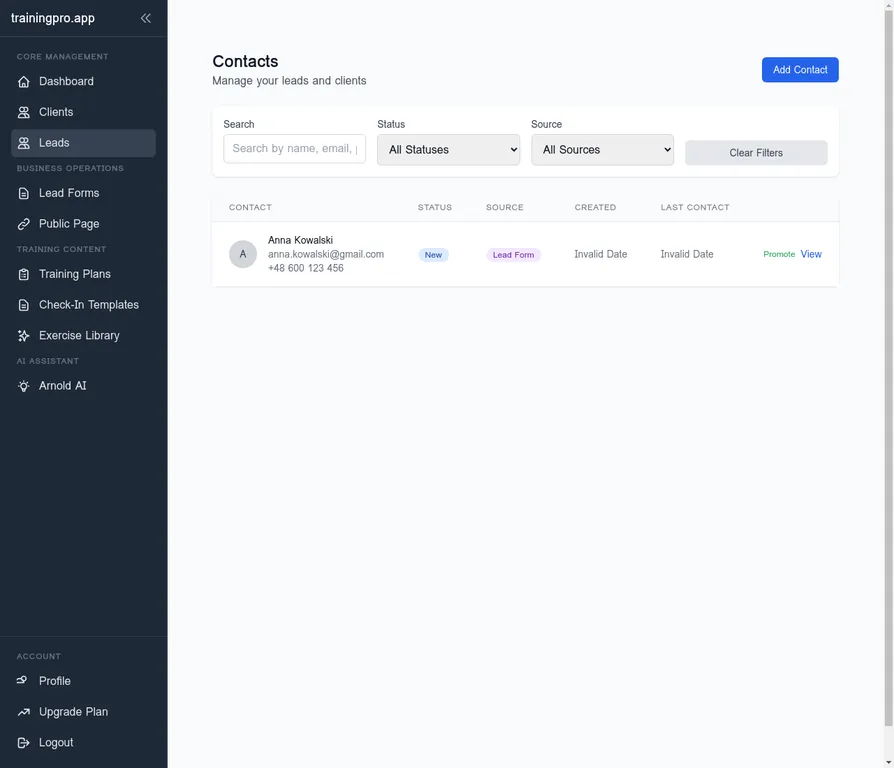
You can also see the new lead in the Leads section, where all your contacts are managed.
And that's it! You've successfully created a high-converting lead form, connected it to your Link in Bio, and captured a new lead—all without any manual work. This is the power of TrainingPro's all-in-one platform.
Ready to Stop Losing Leads?
If you're tired of the manual grind of managing leads and want to automate your client acquisition process, it's time to give TrainingPro a try.
Ready to Transform Your Fitness Business?
Join thousands of trainers using TrainingPro to automate admin, grow their client base, and focus on what they love—coaching.
Start your 14-day free trial • Cancel anytime


